

Practical Guide to Installing affordable blinds
If you’re looking for an affordable way to add some privacy and style to your home, then installing blinds is a great option. But with so many different types and styles of blinds on the market, it can be tricky to know where to start.
That’s why we’ve put together this practical guide to installing blinds. We’ll walk you through the different types of blinds available, how to measure your windows correctly, and give you some top tips for choosing the perfect set of blinds for your home. So if you’re ready to get started, read on!
Decide which rooms need blinds and what type of window treatments you want
When it comes to selecting window treatments, soodsad rulood are a great option. Consider which rooms need protection from sun and prying eyes, opting for blackout or light-filtering styles according to the specific needs of each room. A range of materials and sizes are available, so you can find the right affordable blinds to suit any room’s décor and windows. Don’t forget to take into account other factors such as privacy, insulation, humidity and light control when making your selection – all of which affordable blinds can provide. With a little bit of research, you’ll soon be able to make an informed decision on what window treatments will look best in your home – without breaking the bank!

Shop around for the best deals on blinds – compare prices, materials, and styles
There’s no one size fits all when it comes to buying blinds. Shopping around for the best deal means comparing prices, materials, and styles to find an item that fits both your budget and home decor. Prices may vary significantly from store to store or even between styles within the same store so it pays to keep an eye on quality and cost when making a purchase. Some stores will offer discounts if you buy multiple window coverings at once so that’s something to consider as well. With the right combination of knowledge, patience, and research, you’ll be sure to find the perfect balance of quality and affordability when shopping around for blinds.
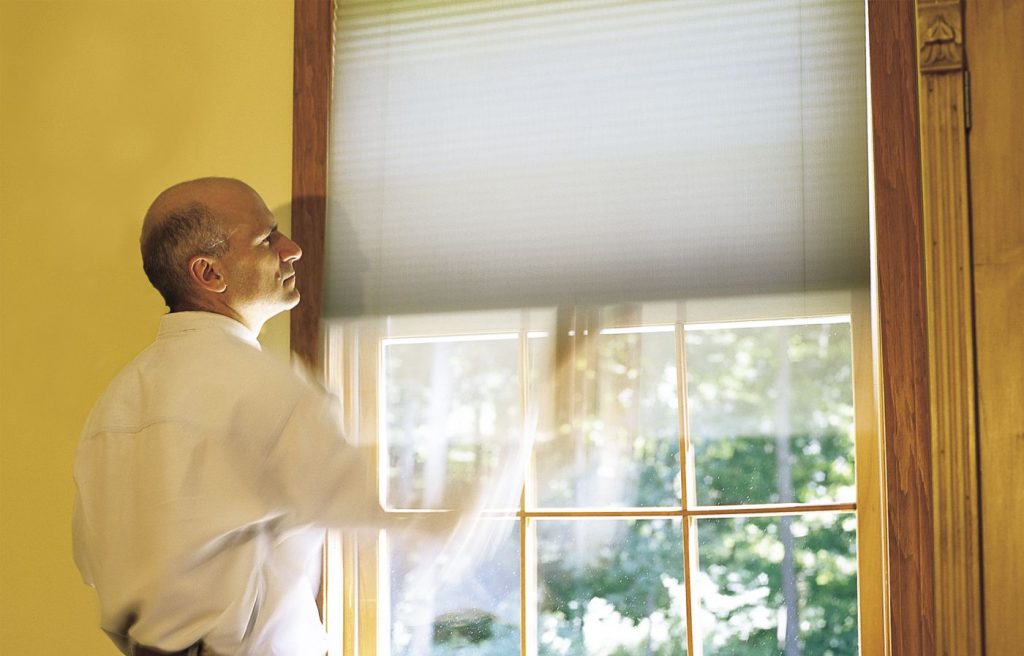
Install the blinds yourself to save money on installation costs
With the right skills and attitude, you can install your own blinds and reap considerable savings. Whether you are simply replacing an existing set of blinds or are starting from scratch, consider tackling this project on your own to save money and get a sense of satisfaction that comes with doing it yourself. Look up tutorials online to gain information on the best materials and installation techniques. Be sure to take appropriate safety precautions while working with ladders or power tools, in order to protect yourself and ensure a successful outcome. With enough patience and dedication you can DIY your new blinds with confidence and pride!
Follow the manufacturer’s instructions carefully to avoid damaging the blinds or your windows
When installing window blinds, it is crucial to follow the instructions provided by the manufacturer closely. This important step can save a lot of time and energy in the long run as it helps prevent you from damaging either the blinds or your windows. Ignoring manufacturer instructions can lead to broken parts, poor installation or incorrect usage. Therefore, all instructions must be read and followed carefully to increase the life of your blinds and keep your home looking neat. Taking the extra precaution to do things right will make all the difference in protecting both your furniture and windows while providing a decorative touch to any room in your home.

Enjoy your new window treatments and the money you’ve saved!
Shopping around for the best deal on window treatments may have been a lengthy process, but now that you’re finished – and you’ve managed to snag a great price too – it’s time to celebrate! Enjoy the new fresh look in your home that your new window treatments give you; bask in the satisfaction of smart shopping. You can take pride in knowing you invested wisely and have saved money. Luxury doesn’t have to come with an expensive price tag, and now you know just how true that is.
Now that you know how to select and install blinds, it’s time to start shopping around for the perfect window treatments for your home. With a little patience and effort, you can find great deals on high-quality blinds that will look beautiful in your home. Follow the manufacturer’s instructions carefully when installing the blinds, and enjoy your new window treatments!

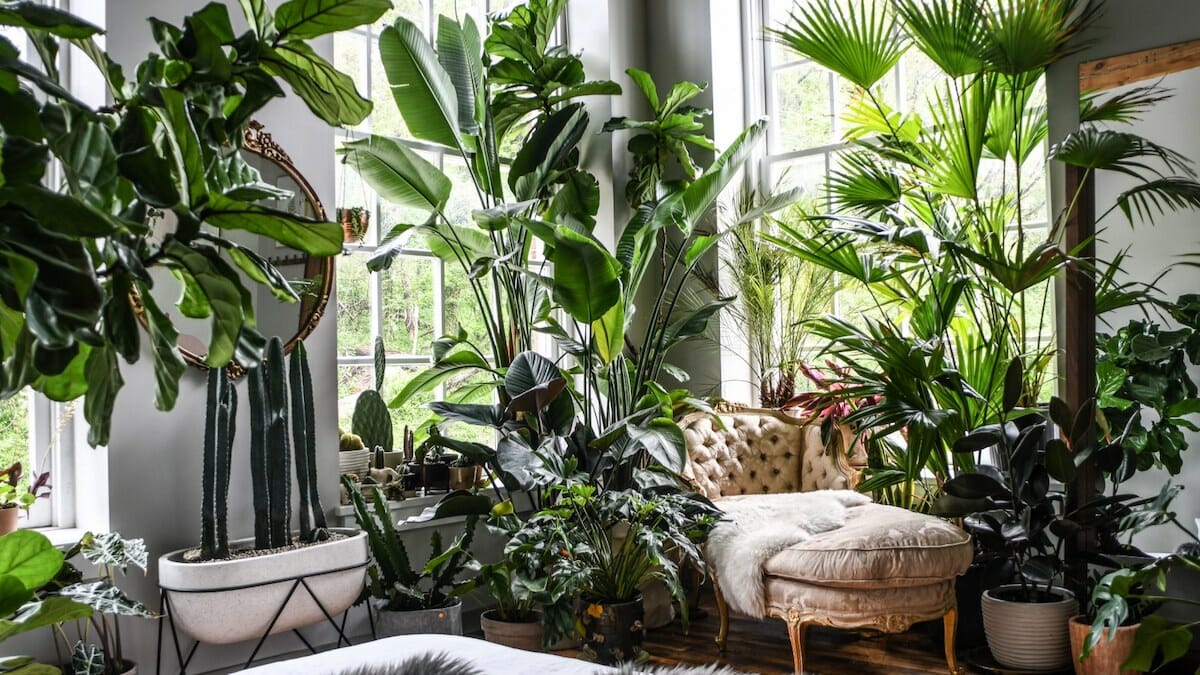
All You Need to Know About Artificial Green Wall
If you’re looking for a way to reduce the heat in your home, an artificial green wall is a perfect solution. It can be used as a replacement for any type of garden or yard. A green wall can also create a nice focal point in a room or add some color to an otherwise drab space. Brise vue jardin is a great option if your thinking of creating a perfect natural screen at your home
A lot of people have trouble trying to find the right material to make their own fake hedge tiling because they don’t know where to start. If you’ve never done this before, it can seem like a daunting task. But we’ll show you how easy it is to install a fake green wall and how you can use it to spruce up your home.
What is an Artificial Green Wall?
An artificial green wall is exactly what it sounds like — a wall made out of fake greenery that looks real. It’s meant to mimic nature and give your home a more natural feeling.
It might sound hard to believe, but it’s actually really simple to put one together. You can get these fake green walls at most big box stores, such as Home Depot, Lowes, and Ace Hardware. They come in several different sizes, shapes, and colors, so you should be able to find something that suits your needs. Some are even designed specifically for outdoor use!
While there are many different ways to make an artificial green wall, the basic process is pretty straightforward. First, you need to cut the tiles down to size. Then, you need to apply them to the surface you want to cover with moss. Finally, you need to paint over top of everything in order to make sure that the moss sticks to the tiles and doesn’t flake off too easily.
You can purchase all sorts of different types of tiles to do this. However, most people prefer faux grass or wood-grain tiles since they look much better than just plain white tiles. These will help add a bit of depth to your wall.
Another thing you’ll need to consider when installing an artificial green wall is moisture. Since the tiles are exposed to water, you’ll likely need to apply some kind of sealant to keep the moss from getting soggy or wet. This can be tricky if you don’t have previous experience doing this sort of project. Fortunately, there are a few products on the market that will work great for sealing the tiles. One example is our Mossy Green Paver Sealer spray. While this product was originally intended for paver sealers, it works perfectly well with tile surfaces.
After you’ve got your tiles installed and protected, you can fill in the gaps between each tile with mulch. You can pick up mulch from your local hardware store, but if you’re using wood-grain tiles, it’s best to go with oak mulch instead. It has a nice, natural feel that mimics real wood. There are lots of different varieties of mulch available, but you’ll probably want to pick one that is similar to the color of the wall tiles you’ve chosen.
How to Make an Artificial Green Wall
Installing an artificial green wall is actually pretty easy. Here’s the basics:
- Choose the right tiles
Your first step is to locate the exact type of tiles you want to use. This isn’t always easy, especially if you’re new to this sort of project. In fact, you may end up needing to try multiple styles until you find one that feels right.
There are dozens of ways to build an artificial green wall, including vinyl, faux grass, and wood-grain tiles. Most of the time, you’ll want to use wooden tiles, which are typically darker in color than other options. This is because they tend to blend nicely with the surrounding landscape and won’t draw attention away from the plants growing inside of them.
If you decide to go with vinyl tiles, however, they aren’t quite as popular. That said, it’s still possible to find them online. Just make sure that the tiles you choose are suitable for outdoor use. Don’t worry about getting a couple extra inches for width; it’ll be fine once you paint over everything later.
- Cut the tiles down to size
Next, you’ll need to take the tiles you’ve picked out and measure them down to the correct size. This can be a tedious process, but it’s usually necessary. After you’ve measured everything, you’ll need to mark the edges and cut them straight across the middle. You’ll also need to cut along the edges of the tiles. Once you’ve done this, you’ll need to clean up the edges by sanding them down a bit.
- Apply the tiles to the ground
The last step is applying the tiles to the ground. For this, you’ll need to lay down a layer of gravel (or crushed stone) to protect the floor underneath the wall. It’s important to note that you shouldn’t use concrete here; it’s too heavy. Instead, you’ll want to use pea gravel or small stones.
To begin, you’ll need to dig a hole about 1 inch deep and 4 inches wide. Next, place the tiles into the holes and press them firmly into the ground. Remember to stagger the rows of tiles, as well as to leave enough space between each row for the moss to grow.
- Paint over top
Finally, you’ll want to paint over the entire surface of the tiles. This is a fairly straightforward process, though it requires two separate coats. The first coat is going to get the tiles covered in sealant to prevent them from absorbing water. The second coat goes over the top of everything and seals the tiles permanently.